...........................................Return to Sumner's Home Page
.Previous Page.............Turbo Motor Index Page..............Next Page.
......T--- Engine Assembly - Cam and Heads ---
............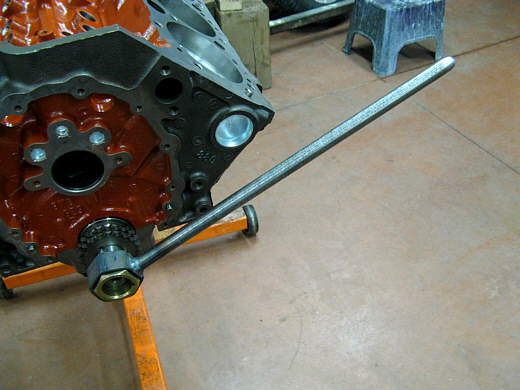
On the last motor I build I used a large pipe wrench on the snout nut to turn the motor over during assembly. I didn't like that, so I built this wrench to use this time and it worked much better. I just took some flat strap and shaped it to fit the nut and welded a handle onto it.
............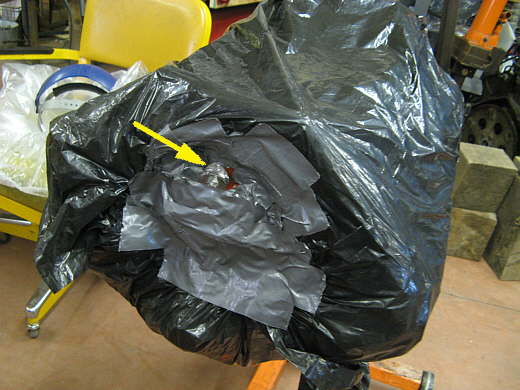
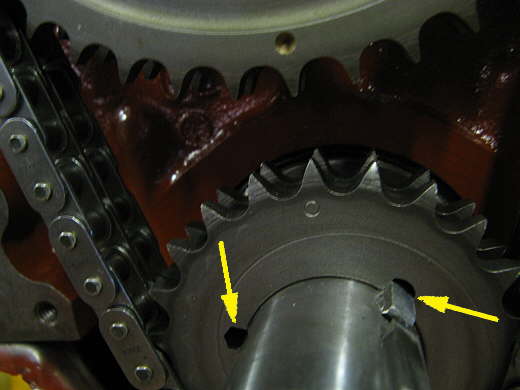
When I went to install the timing set the top gear hit the block. I bagged the block all up and ground the area that was a problem.
............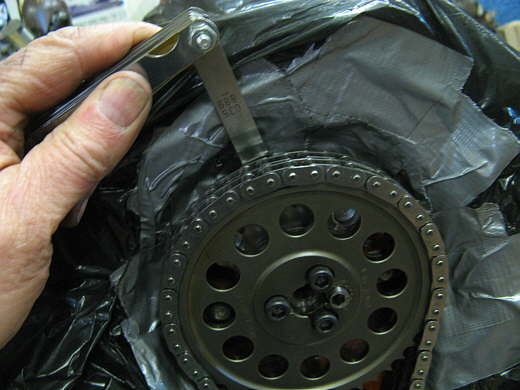
As I ground it down I would put eh gear on and check the clearance with a filler gauge until I had it where I wanted it.
............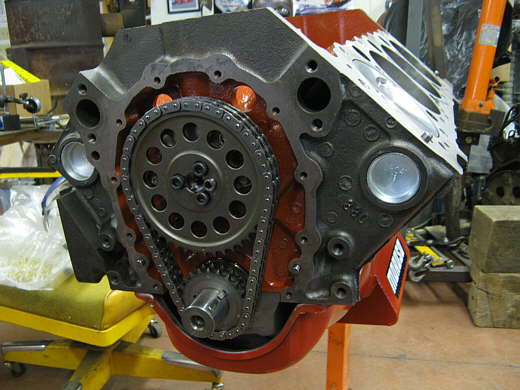
I then installed the cam and the Cloyes Hex-A-Just True Roller Set.
............
This timing set has a lot of adjustability. There are 3 different key settings (the arrows show two of them) and .....
............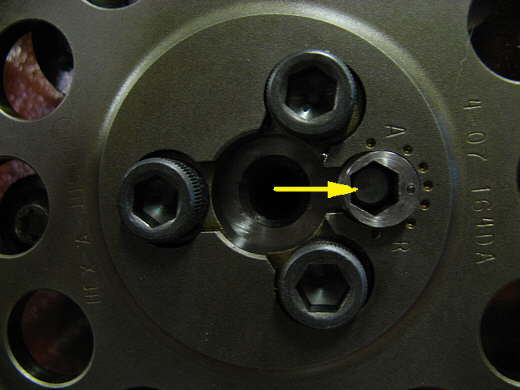
........... then there is a fine adjust with the hex that the arrow is pointing to.
............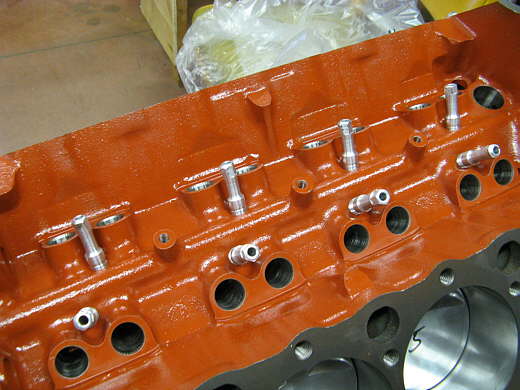
The modified lifter valley vents were installed and ......................
............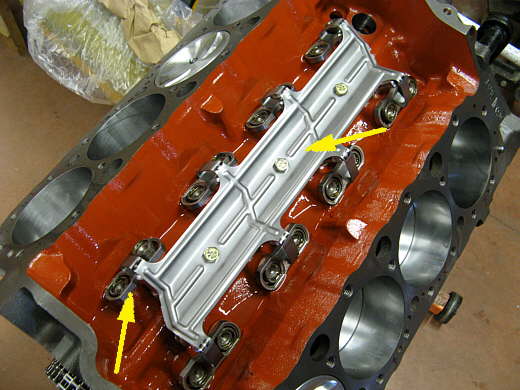
.........then the lifters and spider assembly was installed. Two main reasons I wanted a late model block was one the one piece rear seal and more importantly was the ability to use roller lifters without link bars on them. I liked the way GM designed the "spider assembly" (right arrow) and the way it locates the roller lifters (left arrow) with the guide plates. I wanted the benefits of a roller cam on this build where I could keep the duration mild and still have good lift for good cylinder head flow.
I went with a Comp Cam XR264HR Hydraulic Roller with 212/218 intake/exhaust at .050 and 488/.495 intake/exhaust lift with 1.5 rockers. This cam should be a good turbo cam with hardly any overlap with the 112 deg. of lobe separation and the mild duration. I tried a lot of different cams with the Dyno 2000 program and liked this one the best for both the un-blown motor now and the blown motor later.
............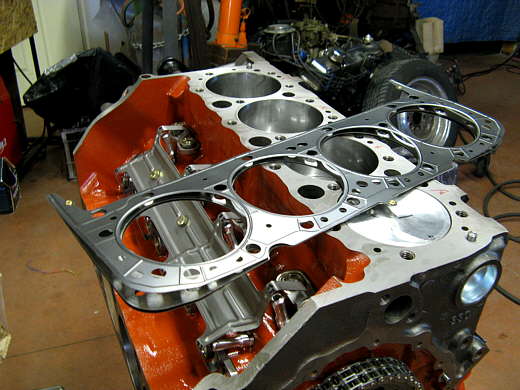
Next I prepared to put the AFR heads on. Once again with the turbo and boost in mind I bought what I feel are the best head gaskets for the job. These are Cometic Multi-Layered Steel (MLS) 4.065 X .040 head gaskets. They aren't cheap and when I ordered them at what I thought was $75 a pair the guy said do you want two? So my $75 estimate turned into $150, but they will be cheap insurance when I'm running more boost with race gas. You install them dry.
............
Here they are in position for the heads to go on.
............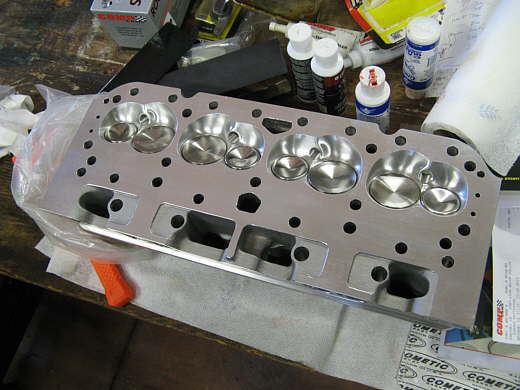
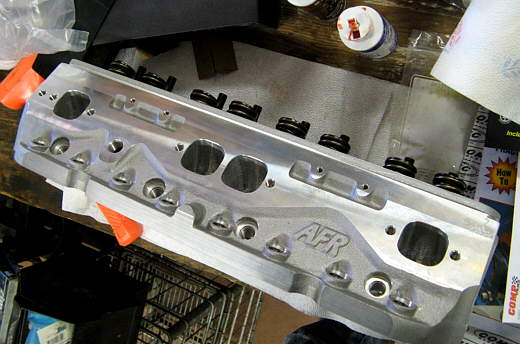
I got AFR 195 #1034 65cc Eliminators with the following upgrades:
#8047 spring upgrade (1.270 LS1 Hyd. Roller Spring). They said guys have run 7000 rpm with these springs, I'm hoping for 6300 to 6500.
#7512 Inconel Exh Valves upgrade for turbo use.
7/16 inch stud upgrade.
I ordered them from Mike Lewis (707) 984-6103) at Lewis Racing (give him a call and tell him I sent you).
............
I've always wanted some AFR heads as I feel they are the best "out of the box" street head you can buy. I got them with the 65 cc combustion chamber for a 9.1 compression with the JE Pistons I got and the .040 head gaskets at close to a zero deck. The 9.1 compression will keep the motor responsive off of the turbo and should be fine with the boost I envision.
............
I couldn't help but..............
............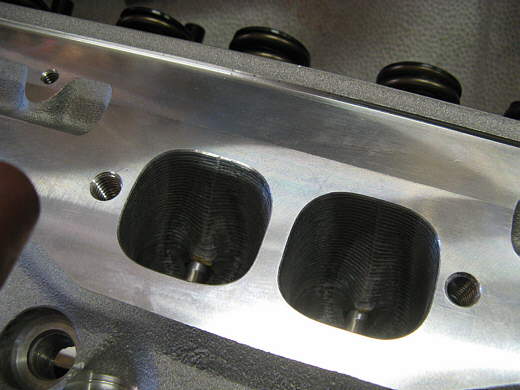
...................... include some more pictures of...............
............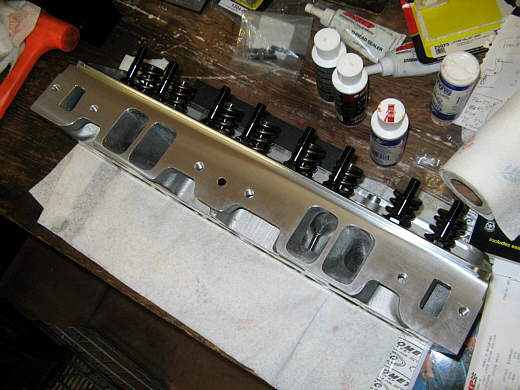
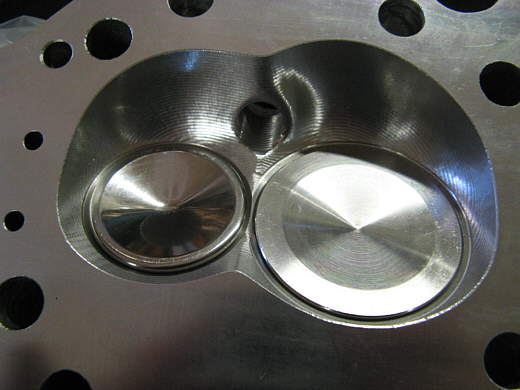
................... these heads. They are beautiful and I feel worth the money.
............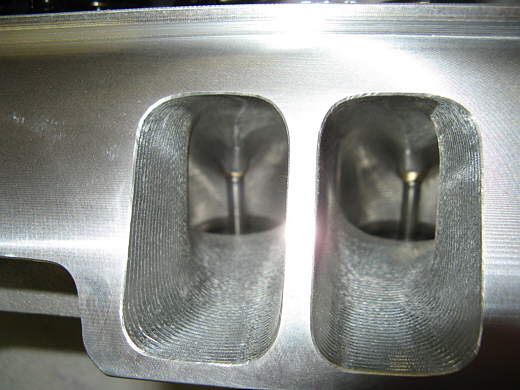
You can see the CNC machining marks and they said to "not" try and smooth these out or the flow would actually be hurt.